Whenever cleaning day rolls around, there’s a good chance that your vacuum cleaner will be the star of the show. However, if there’s a leak in your vacuum, you may as well switch to using the old broom-and-dustpan method. Vacuums rely on their components remaining air-tight in order to trap dirt and dust; if this fails, it’ll feel like you’re simply dispersing the dirt, rather than cleaning anything.
It can be pricey to replace vacuums, so it might be worth trying to fix the leak yourself before running out to the store. Let’s look at how you can repair your vacuum cleaner.
3 Steps To Fixing A Vacuum Leak
- Confirm You Have A Leak
This may seem silly, but sometimes what you believe to be leaks can actually be clogs in the vacuum. Finding that you’re collecting less dirt in your vacuum cup or bag can be a sign of either problem. However, if you notice that the air is a little dustier when you vacuum or notice a loss of suction, then it is likely a leak.
- Find The Leak
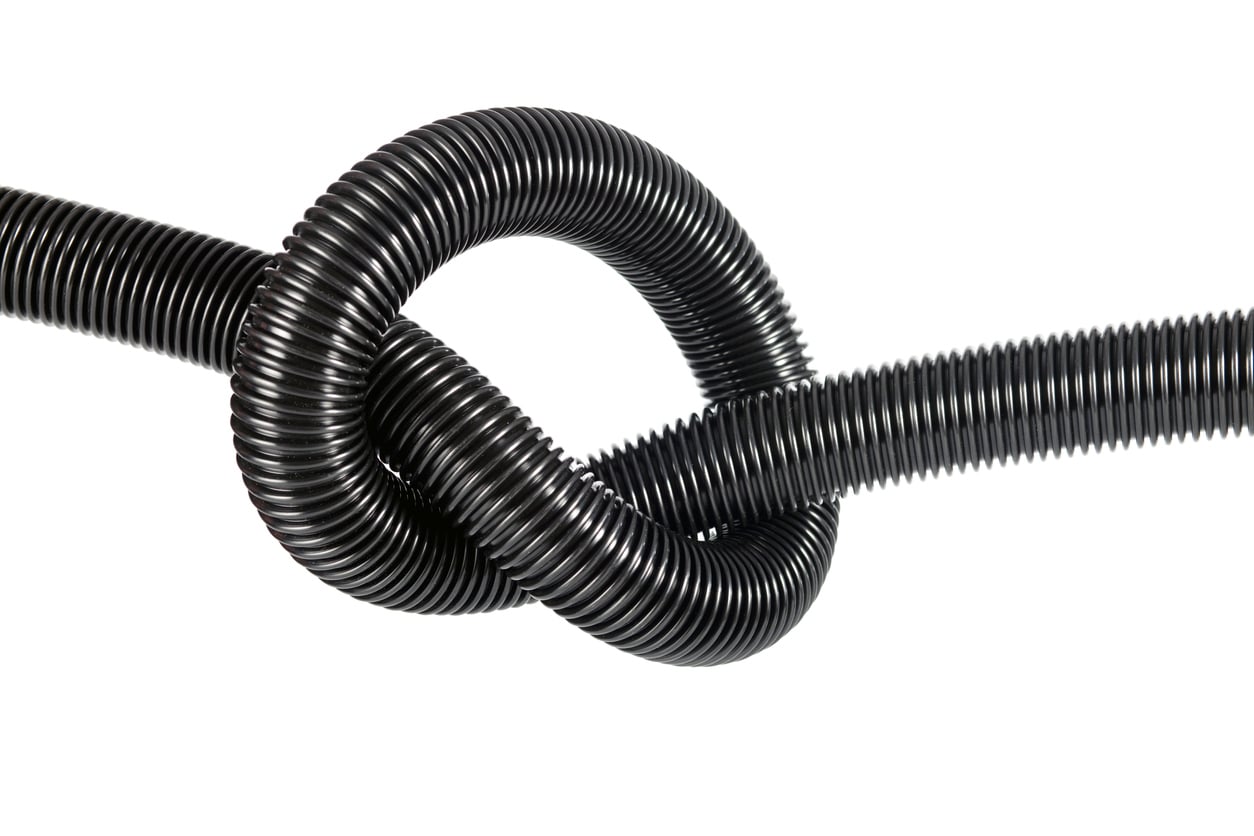
Odds are, the leak will be found in your hose. Sometimes they get stretched too far or get bent out of shape. Other times, they simply get old and brittle.
Start by running your fingers over the hose, feeling for any unusual bumps or slits that could indicate a leak. If you think you’ve located the source of the leak, simply turn your vacuum on and place your finger over the suspected leak. You should feel air moving through the slit, indicating that the seal has been compromised in that spot.
If you can’t find the leak this way, remove the hose from the rest of the vacuum. This may be more tricky with upright vacuums, as the hose is connected to the canister. You may need to grab a screwdriver and remove the panel that covers the hose coupling. Don’t hesitate to turn to your owner’s manual in such a case, as you don’t want to further the extent of the damage.
Next, hold the hose over a sink or bathtub and pour water into it. Hold both ends of the hose up, allowing it to make a U-shape. Slowly slide the water around the hose, watching for any drips. As soon as you see water sneaking out of the hose, you know you’ve found your leak.
- Patch The Hose
Interestingly enough, the most reliable way to repair a vacuum leak is the tried and true method of using duct tape, particularly if the leak is in the centre of the hose.
To get a good seal, take the time to wipe down the part of the hose you intend to patch. Using warm, soapy water should do the trick. Grime on the vacuum hose may decrease how well the tape will stick.
Next, stretch out the hose as much as you can without damaging it to reduce the severity of the grooves. Then place the duct tape on.
Finally, sprinkle a little bit of cornstarch on the floor and vacuum it up. The cornstarch will stick to the small area of duct tape that is exposed on the inside of the hose. This way, the tape will have a neutral coating and prevent hair from sticking to the inside, thus clogging it up.
This is ultimately a short-term fix, allowing you time to find alternative solutions. There are professional vacuum repair companies in Calgary that can help replace the hose, which may be a less expensive alternative to simply buying a new vacuum altogether. But in the meantime, good luck and happy cleaning!
At The Vacuum District, we are dedicated to bringing you the best products to clean your home, and our professionals will do their best to do any repairs and recommend the best products! Contact us today at (403) 454-4822 or send an email to [email protected].


